Sunday, August 14, 2016

A Tale of Two Battles

Over the summer we sometimes get together on a weeknight for BBQ and a game.  This past Wednesday we decided to do some Flames of War on two tables at once.  The first, and to me most interesting game had my late-war Goums going against Gebirgsjagers.  The other game, also with an Italian boot theme, have British and German infantry squaring off.  Both tables had 1900 points.

Lots of LOS blocking hills, impassable to vehicles on my table; even more terrain but accessible to vehicles on the other.  We decided to play the same random mission on both table; a "Fair Fight."

Gebirgsjagers fielded four of these, over-crewed to make them even
nastier.

Paul (right) and I getting set on henceforth named, Table 1.

And Bob on Table 2.  Hands pictured, Adam.
My Goums had American armor, recon and artillery support, with a "Limited" P-40.

HMGs, 8 cm mortars, platoon of Gebirgsjagers and the rockets
faced my left.

Ready for turn 1 on Table 1.

One of my two platoons of Goums.


Italian designed Semovente in German service, with a good 75mm gun.

A pair of Tigers with the "reach out and touch someone" capability.

Post recon moves, ready for Turn 1.

Table 2 - Ready for Turn 1.

Table 2 British have a battery of 25pdrs. and 5.5" howitzers.

Panzer Mk.III and armored cars support the regular infantry on
Table 2.

British infantry awaits the onslaught on Table 2.

These German gun teams would be strafed next turn in my only
effective air attack.

Table 1 - Tigers smoked so they make space to open fields of fire
and the range.

Table 1 - Semoventes boldly advance.

Table 1 - Limited air support showed every turn, but only one plane.

This drove deep into allied territory alone, prompting me to say,
"I don't know what it is, but I'm going to kill it."  And I did.

Table 2 - Not much armor for either side, so every burner matters.

Armored Cars, armed with 2pdrs. go out to mix it up on Table 2.

Allied artillery made it difficult for the Germans on both tables.

The German left flank on Table 1 spent most of the game pinned.

Table 1 - Lightly armored Semoventes do not fare well.

Table 1 - Outside of the Turn 2 strafing run, my planes accomplish
next to nothing.

Handsome troops, pinned down on the hot seat. 

The Luftwaffe attempts to open things up, but good deployment
minimizes the potential effect.

Mentally sizing up the odds, I prepare to unleash the US tank destroyers.


Table 1 - Time to rush the Tigers and hope for the best.

First my TDs got seven hits on eight rolls, then Paul failed all
his saves, needing only a 4+.

Table 1 - Paul sits stunned, trying to figure out how to say in
German, "Sir, I have no division."  Mein Herr, habe ich keine
abteilung.

Some British success on Table 2, but the Germans continue to advance.

Vorwärts!

Table 2 - Bob's Germans are technically winning, but a lot of
artillery awaits, should he get through the infantry.

We didn't calculate points on either table.  Bob's Germans might have been slightly ahead on platoons destroyed but even if he got through the infantry a line of artillery and bofors protected the objectives.  So all in all not a good night for the Wehrmacht.  Next time, who knows?  Thanks guys for comradely games after good food.


Sunday, August 7, 2016

Rescue in Rohan

"We're too late, the farmstead is already in flames."  A rider of Rohan stated the obvious.   "Yes, but the Uruk-Hai act like our folk are still holding out in the main building" said another warrior absentmindedly flicking his bowstring.  "Let us strike before that second group clears the fields.  Our sacrifice will be a song of legend."  "Legendary stupidity" muttered a third.

The farmstead had six civilians sheltering in a burning building, with ten Uruk-Hai lurking outside and another ten Uruks coming up as fast as a series of fields and stone walls allowed.  To "win" each side needed to rescue or kill four civilians.  Three was a tie and your own losses were of no consequence.  Game system is (big surprise) Lord of the Rings.  Click to big-up the pictures.

The opening scene, with the burning homestead, wattle-fenced fields and pig pen in the distance.

The Rohirrim have the first priority move.  We see the ten Uruk-Hai spread out.  We have twelve riders vs. just ten foes, plus we have bows.  What could go wrong?

Well for starters we haven't played for a long time so we all moved too far to shoot bows.  After the Uruks in range charged in with pikes in support my quartet became a duo in short order.  After the first round things began to balance out or even favor us in melee.

At the end of turn 3.  Starting with the fourth turn we have to start rolling for the farmers, who will neither leave their home unless we are there or fight for  their lives, to see if any succumb to the smoke and fire.

Our riders get to the farmers, finding one dead, and summon the others.  Melee is going slightly in our favor, but the fresh band of Uruks is coming up fast.

We manage to get three farmers away, so at least a draw, but the other two are intercepted time and again as we lose three priority rolls in a row.  We luck out and only lose one rider and his farmer.  My sole survivor manages to bowl over a pair of Uruk-Hai to help ensure the escape of the fourth farmer.

In the end four of six homesteaders were rescued, though at the cost of six of twelve riders.  The Uruk-Hai, who could feast on man-flesh that night, only lost nine of twenty.  So I don't know who those farmers were related to, but it must have been someone important. 

Thanks Tad for bringing the gorgeous building and terrain pieces, figures and patiently putting up with our incessant, "how does that work again?" questions.  We all agreed there should be more of these in our future.
 

Wednesday, July 27, 2016

And Now for Something Completely Different...

The Allies!

As a follow-up to the French "pass in review," we had to assemble the opposition.  As you can see below, we have just a few more of them than French.  The head count for the British, Portuguese, Brunswick, Dutch-Belgian, Spanish, Austrian, Prussian and Russian armies was just over 10,500 painted miniatures.  The Austrians and Russians being the top two nationalities represented.

For your consideration, click on the pictures to enlarge them:

The long view

Peninsula and Waterloo allies

British, la Vendee and Spanish

Lots of Austrians

More Austrians

1812 Russians

1799 and more 1812 Russians

1806 Prussians supported by 1815 Prussians
In the "that's interesting" category, when we assembled the French and their occasional allies we only had two formations duplicated, the 1er Reserve Cavalrie Corps.  Here however we had two I Korps for the Austrians, two 2nd Army of the West for the Russians, and some Peninsula duplicates.  All in spite of having half again as many figures among the five contributing collectors.

1792 la Vendee troops

Peninsula veteran Portuguese

A few of my British line

von Bulow's 1815 Prussians

Russians with the inevitable Pavlov Grenadiers.

Looking the long way from the other end.

So now that we have this information and documentation, what to do with it?  Obviously we can do most any battle we want if we don't mind substitutes.  Might we manage some kind of Leipzig mega-game in the future?  Or keep it manageable?  We still have a significant number of unpainted minis already on hand to complete real or imagined projects.  At least it is nice to have options.


Tuesday, July 26, 2016

Battle of Dettingen Refight

In 1743 His Majesty George II took a massive train of servants and gear and joined his army in the field to aid the Austrians against the French in the War of Austrian Succession.  After a lot of differing and indecisiveness he found himself trapped by the French army and only a colossal blunder likely saved him and his army. 

Our refight was based on the excellent article in the March, 2012 issue of Wargames Illustrated.  Their game was played in "God's Chosen Scale" of 28mm figures on an 18' table, while ours was in 15mm on a 9x6' table.  The commanders for each side were given a briefing a few days before and had to give precise orders to different elements of their army as well as develop a plan for the battle.

After many e-mails flying back and forth and each side was ready.  In some cases making remarkably similar decisions to their historic counter-parts but in other cases feeling no obligation to copy their mistakes.

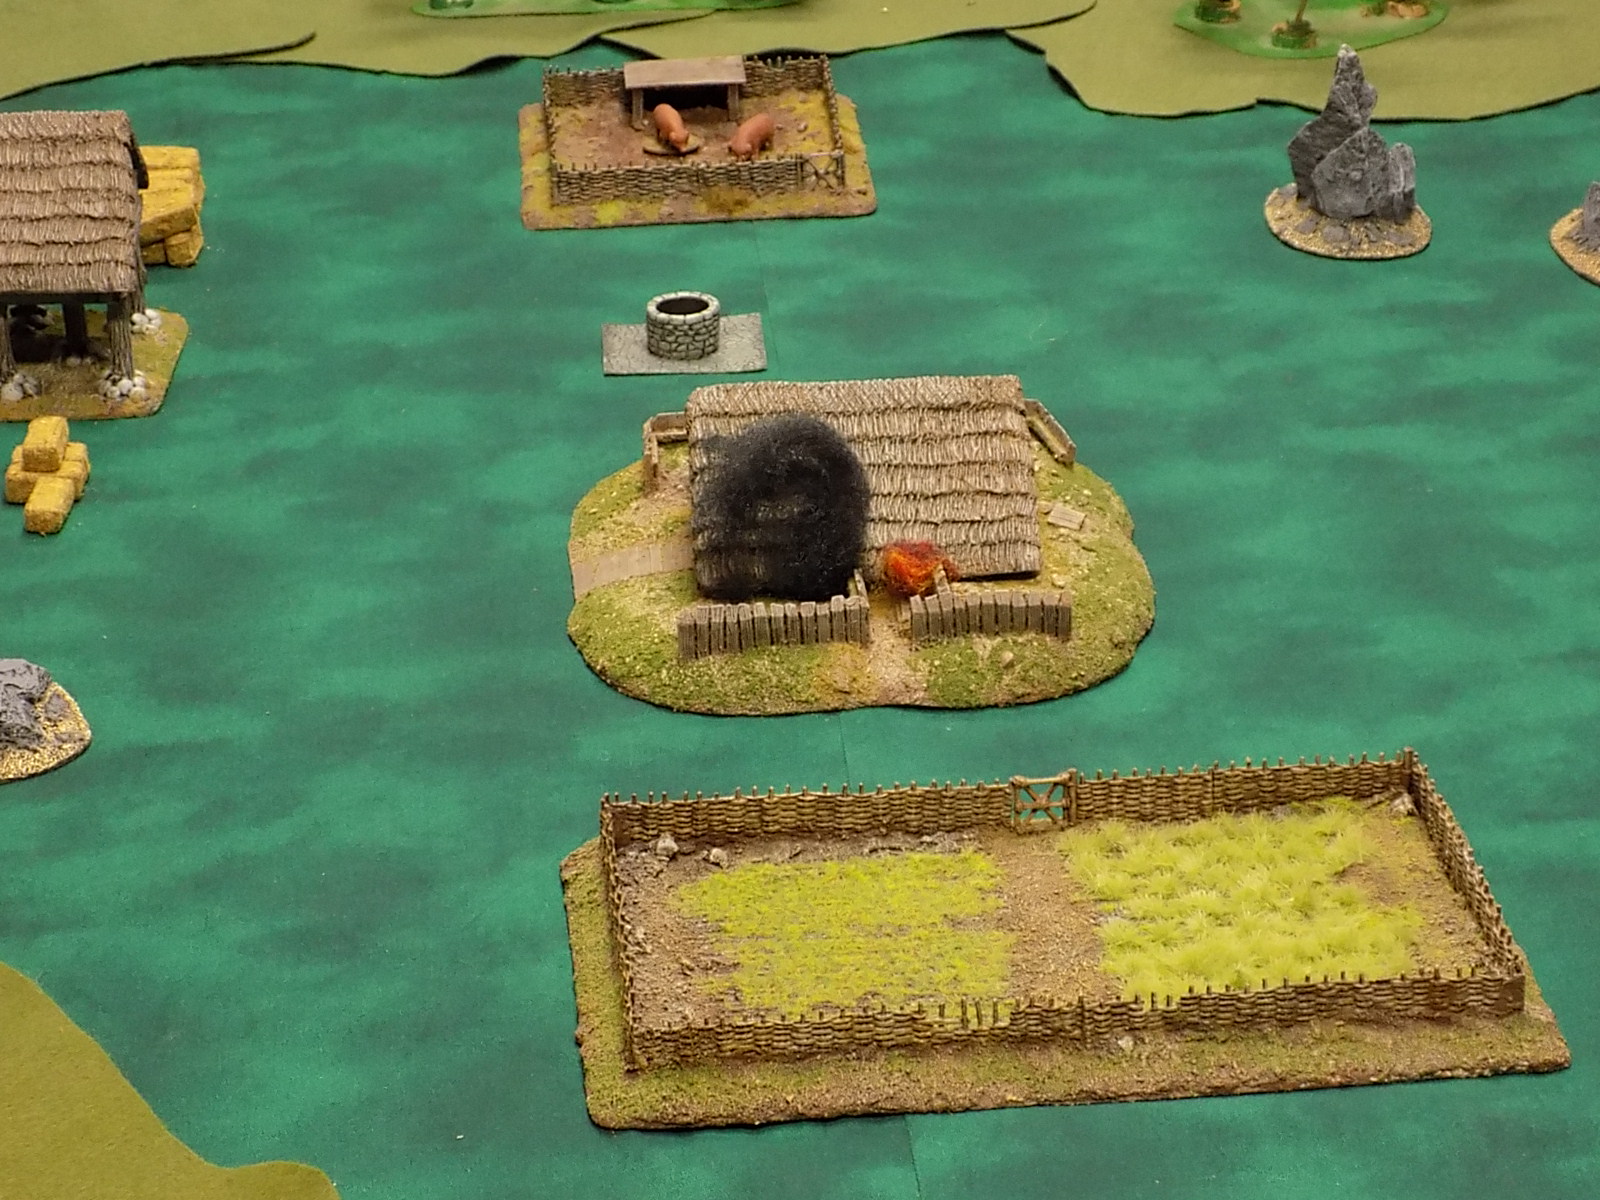
A bit about the table, because the terrain was of major importance.  The Main River ran the length of the long edge of the table and was impassable except at the pontoon bridge the French erected near Seligenstadt.  The Dettingen River split and had swampy ground between the branches.  For our chosen game system, Final Argument of Kings by Dean West, this meant rough ground and slow going.  At the far end of the table (see picture below) was the town of Kleinoshein which had a bridge over the Kleinoshein River.  Both the Dettingen and Kleinoshein Rivers could be passed, but basically just moving from one side to the other.  The camp of the "Pragmatic Army" lay between the two rivers, historically having exhausted both forage and resources.  Failure to get off table via Dettingen or the swamps or the loss of the wagon train would result in starvation and surrender.

Opening positions.  I've occupied Dettingen and the high ground
while another brigade waits to cross the pontoon bridge.

From the other end a French infantry and cavalry brigade will
enter turn one.  Facing what?
The Pragmtic Army with their Austrian allies had a slight numeric edge over the French.  Historically the French out-numbered them but a great many never came close to getting engaged.  The French army did not march in cadence nor emphasize musketry so around half of the line battalions were rated poor with a negative shooting modifier.  However, we had four battalions of the Gardes Francais, plus three battalions each of Irish and Swiss troops.  George had his British and Hanoverian Guards, and a pair of elite Austrian battalions, but the rest was remarkably average.

A view of the Pragmatic camp and rearguard moving out.

Lots of swamp to cover.  French guns are lights but the Gardes
Francais (not pictured) and others await.

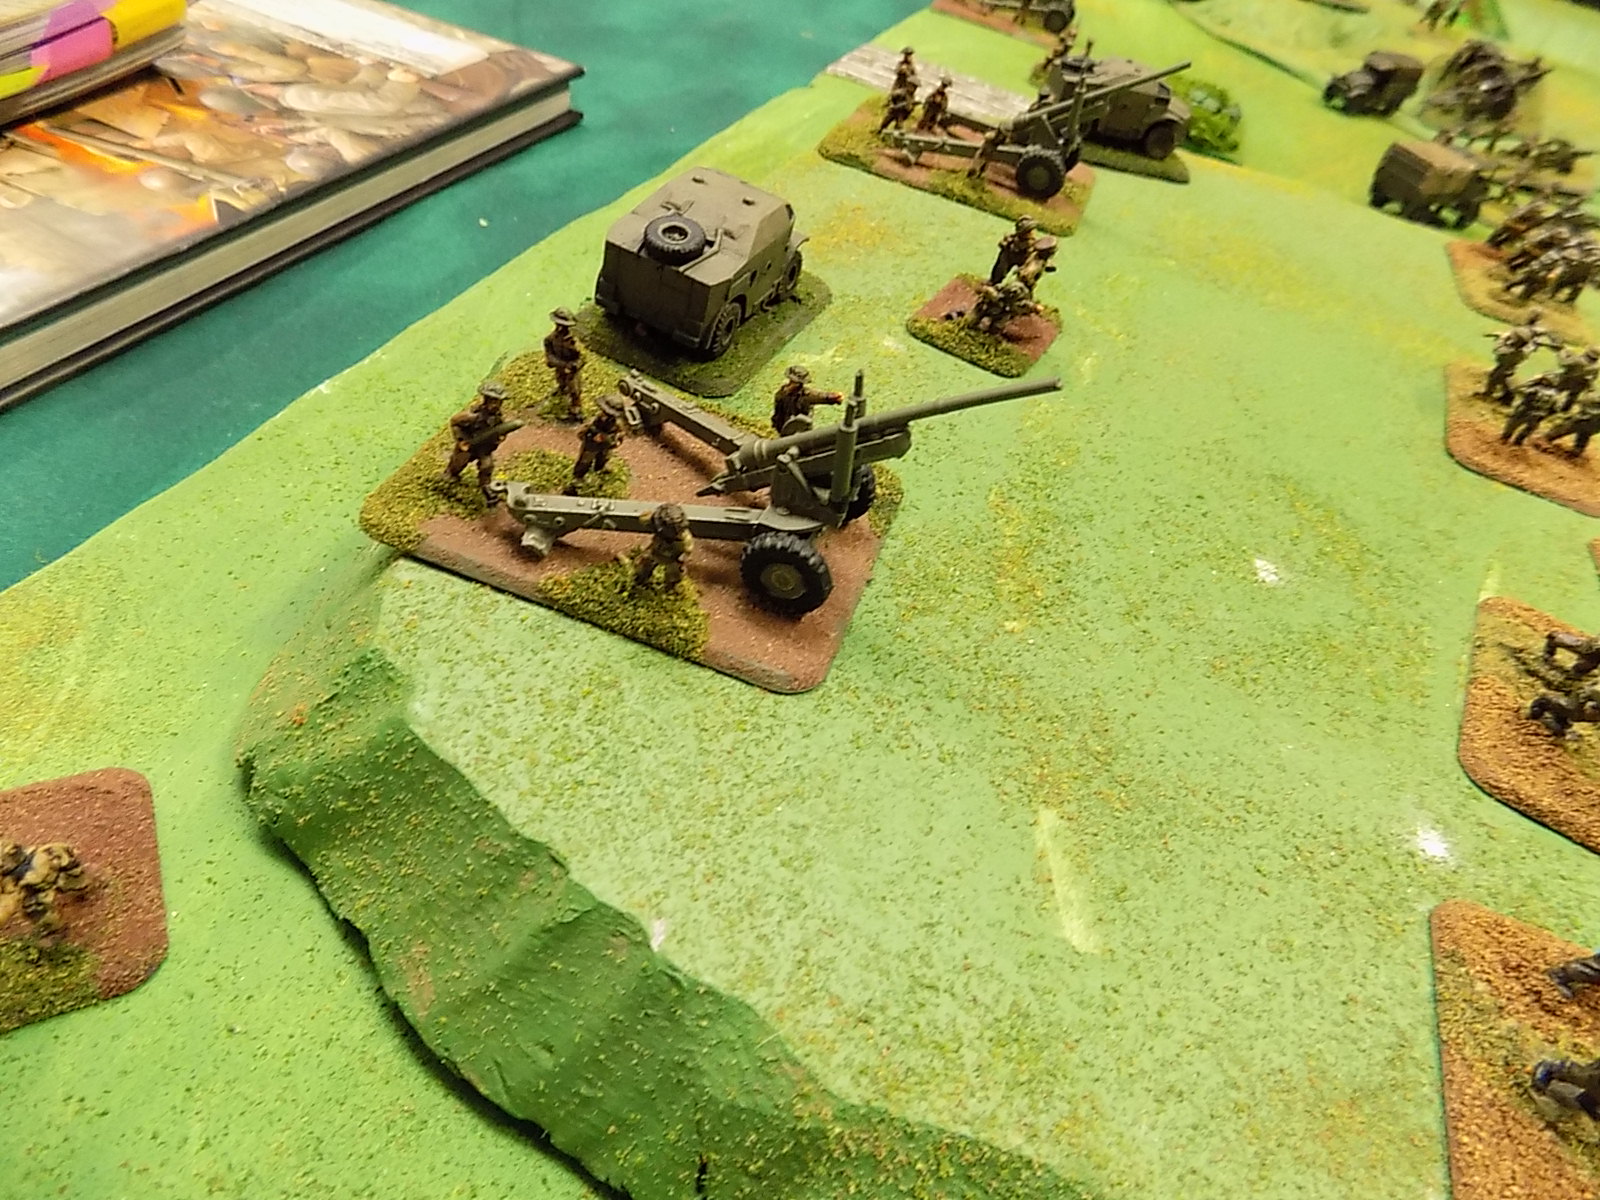
From the safety of the far side of the Main, French medium guns
enfilade the advancing British and Hanoverians doing steady damage.
The French artillery park of 6 pounders, generally firing at long or extreme range did much better than historically, due in part to the stubborn decision to continue the advance and give up flank shots.  Eventually they all ran themselves out of ammunition and were starting to replenish when the game ended.

In the distance the French cavalry face their counter-parts.  The
Austrian contingent is at top of the picture.

Squish, squish, squish...  The brigade that crossed at Seligenstadt
is racing for the far left behind the ridge and out of picture.
As the Austrian cavalry and Pragmatic infantry prepared to emerge from the swamp, we were faced with a timing and terrain question.  My cavalry, being part of the Maison du Roi, had an easy decision, charging and routing and eliminating the Austrian horse.  At this time the Austrians were still wedded to the notion of firing pistols at point-blank.  So they receive no charge bonus but do get the firing, which in our case dropped a gentleman from the household troops.

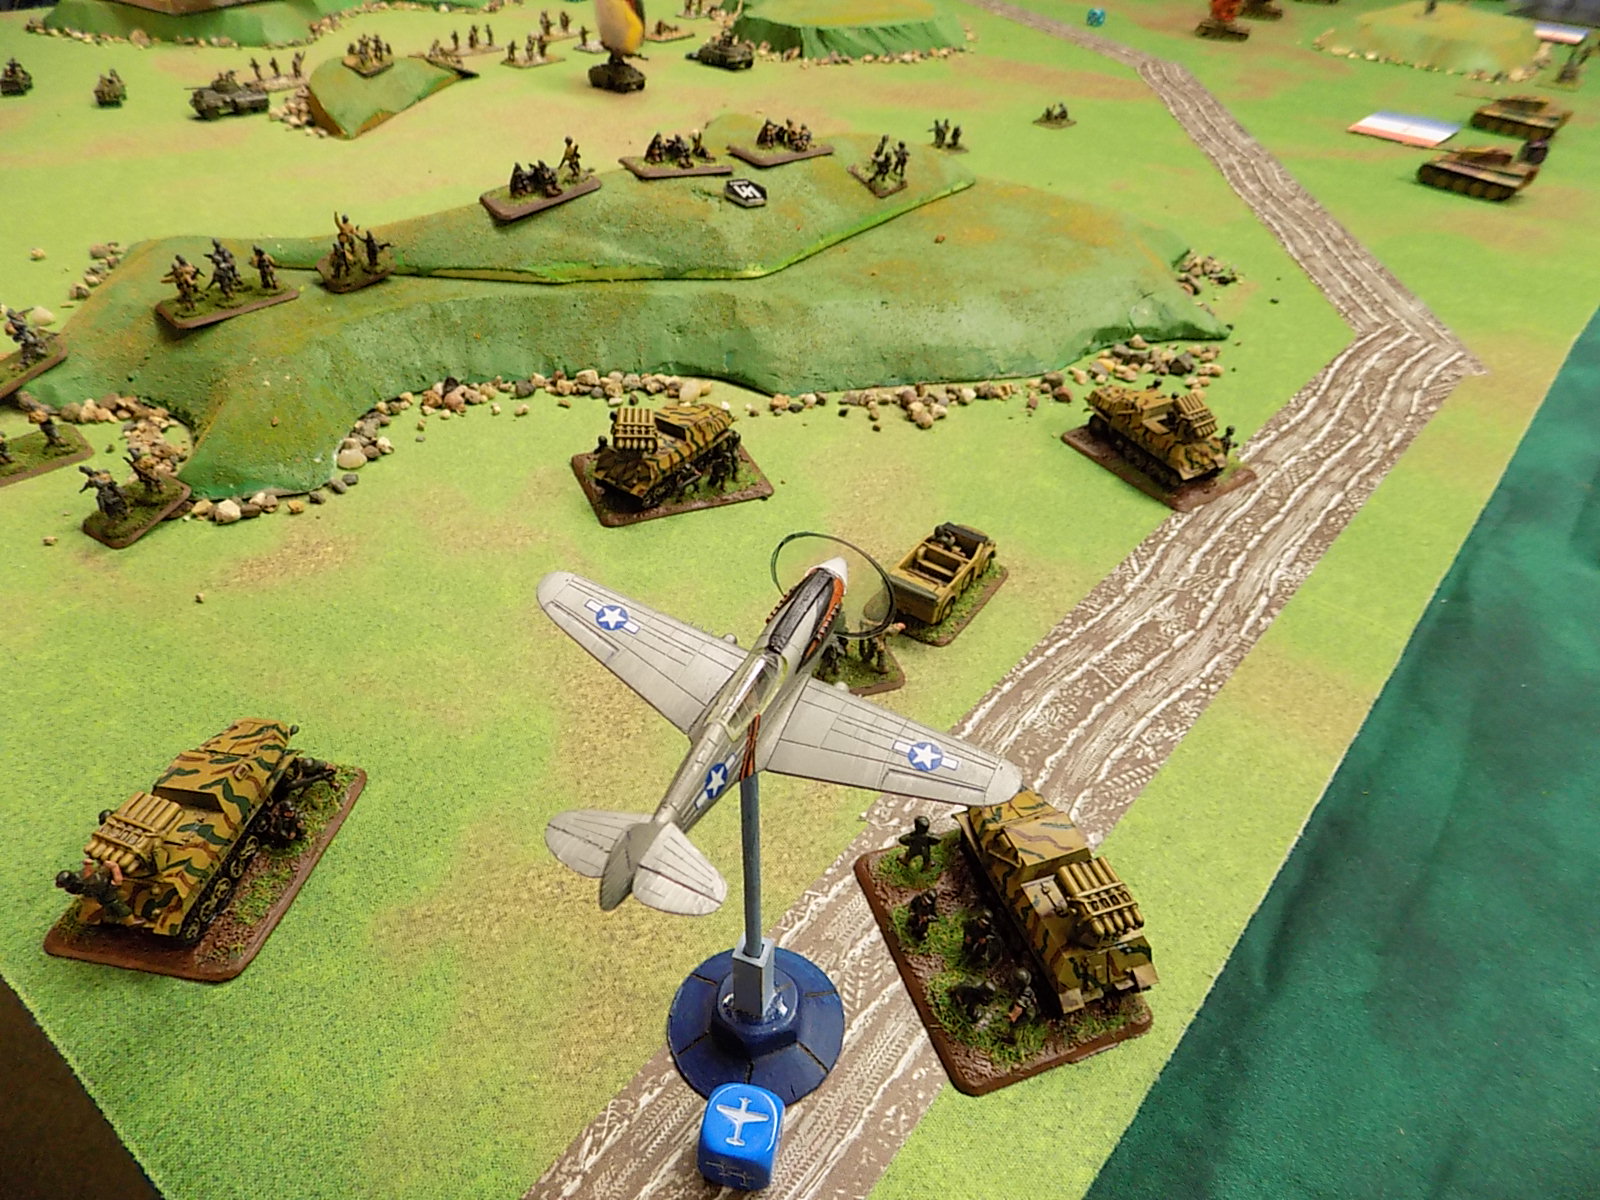
Shooting uphill is tough in FAoK but I decided to
come down and try to pin the Pragmatic Army
against the swamp.

The main French army, starting on the wrong side of the river,
split and sent half to cross at Selingenstadt and half at Aschaffenburg. 
Here some arrive and start to cross the bridge.

The nearly abandoned camp, with cavalry racing to and fro.

Despite facing the British guards the numbers begin to tell and
the Pragmatic army is ripped up.  Yellow markers indicate shaken
units, red ones routed.  All units start with four stands each.

Routers have disordered the second line as George himself
begins to wade the swamp.

The garrison brigade at Dettingen charged and captured 24 allied
guns at bayonet point.

The pursuit force had to sort itself out and fend off allied cavalry.

The cavalry to the rescue of the guns, but too late.

One rule in place was that British cavalry in the WAS was
required to charge in column of squadrons.

George II about have runners race past.  Seeing no practical
option, he chose to ask for terms.

So ended the hard-fought game.  Without the obligation to repeat the French mistakes and with more effective artillery, the out-numbered and split French prevailed.  The Austrian infantry was intact and the rear-guard barely engaged, but needing to get out through the area where the French guards and now Irish were positioned was highly discouraging.  The Wargames Illustrated game also ended with George II being the guest of King Louis, but ours was a bit more decisive in my opinion.


Six stalwart gamers meant the game clipped along and we were done after about three hours.  We are still play-testing 2nd Edition of Final Argument of Kings with the minor amendments added at the Seven Years War Association convention in South Bend, IN last March.  Hopefully we will see it released yet this year.