Monday, May 30, 2016

Weissenfells

As seen elsewhere there are great blog postings on the Battle of Weissenfells.  Der Alte Fritz relates the planning and blow by blow description here: and the French commander Bill Protz relates a story-like version here.  So I'm just going to share the eye candy pictures and my perspective as a brigadier.

This was my first "Mega-BAR" game and given they only happen every few years, it was not to be missed.  Played with 25/28mm figures on a 28x18' table (runways between each 6' of depth) and well over 3000 figures made for a remarkable spectacle.  And fun game.  Click on the pictures to "big-up."

One of the villages anchoring the right side of the Prussian position.

Part (just part) of the host assembled.

Looking towards our objective on the Prussian left.

Did I mention three game tables, all 28x6' and all in play?

Surging forward with Prussian back table in sight.

On the Prussian back table, the last village held by  them.

My Irish, Scots, Bavarians and Germans in French employ
advance with regular French support.

Did I mention... yeah, I guess I did.

Der Alte Fritz himself moves cuirassiers against me.

My Bavarians calmly await with their opening volley.  We emptied
many saddles and repulsed this particular attack.
Words aren't really necessary from here on.  Just enjoy the spectacle!


We few, we happy few, we band of brothers.

And so it came to an end.  While we had not completely attained our objective at the designated ending time I feel confident the village would have fallen.  With seven battalions (one fresh) and two guns against three battalions (one fresh) we would have prevailed.  My new brigade also captured four Prussian guns.  Bear with my pleasure, I usually get hammered by the Prussians.  But quasi bragging aside the main thing is that it was a SPECTACULAR experience.  Good humor abounded and everyone took the imbalanced scenario, based on Aspern-Essling in the Napoleonic Wars in stride.  The Prussians, in the role of the French, were significantly out-numbered on our side of the river.


Sunday, May 22, 2016

Ancients

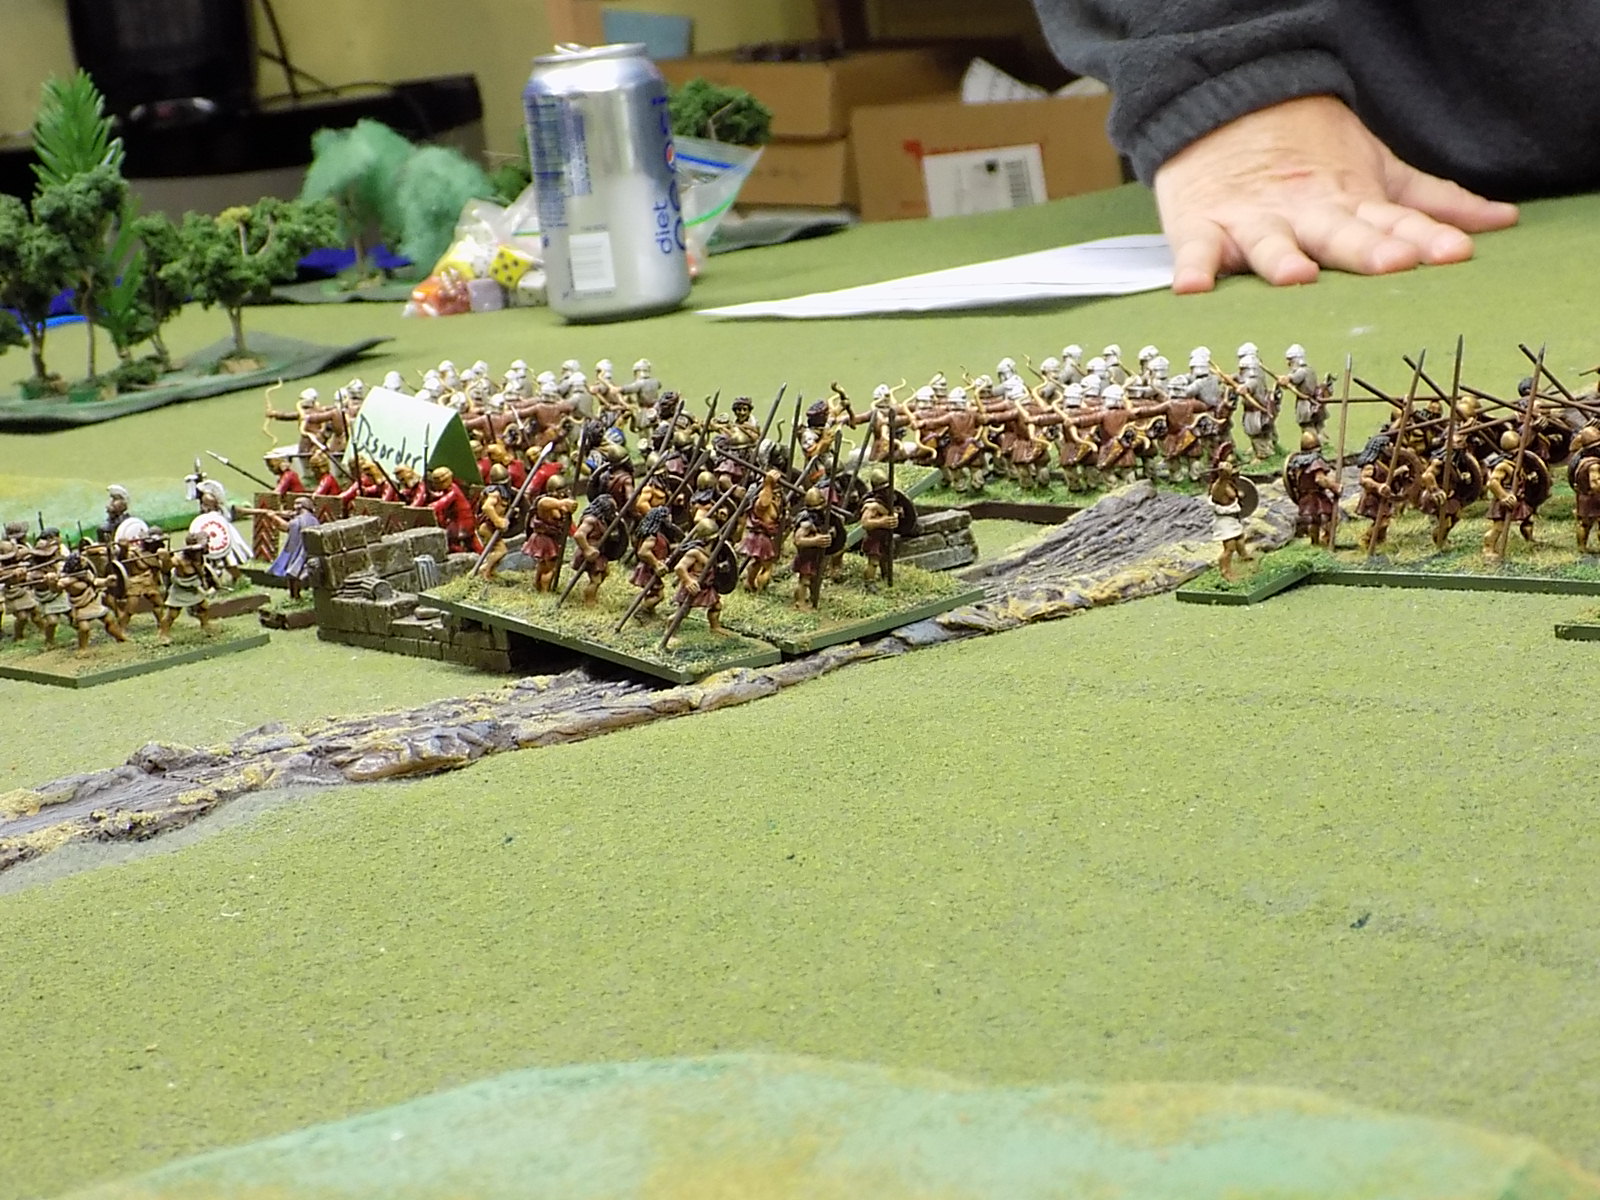
May 15th the group continued their quest for a decent set of ancients rules by playing "To the Strongest."  The Macedonians took on the Spartans (and a few friends) in a six player game.

First some details about "To the Strongest."  This is a diceless game.  Yes, heresy for certain, but not without merit.  A deck of cards is used with the face cards removed.  You must activate each unit by flipping a card.  You may activate the unit again by drawing a higher card.  Units are assigned a combat value so you hit by drawing that number or higher.  Players are free to move from unit to unit till they fail an activation, at which time your turn is over.  In our game each side had three "divisions" so three divisions went before the other side could draw activation cards.  This meant that five of us watched while one played in our playtest, but with more experience and a deck per division it would go at a quick pace.

Early moves as the Spartans seize the initiative.

Macedonians await and blow their first movement activation.

The chits on the missile armed units represent ammo supply.

This shows how the cards play.  After moving them all one might
go back to the three and flip for it, then the five, etc.

Both sides have "deep" units so pikes vs. long spears is okay.

Battle for the ruined temple of [pick your god or goddess]

Once hit you draw a card to negate the hit.  Small units go away fast.

Not that the winning was important, but each side had a break point from units or commanders lost.  For the 2nd game in a row Alexander the Pretty-Good got killed.  Leonidas also went down with his 300, but I think he survived.  The Macedonians broke at some point.

Bottom line, although this particular game played deadly slow I think with a bit more experience and more decks to allow for playing at your own speed we'd have a good game.  I prefer dice for the randomness but if we shuffle the dice a lot to prevent card counters it will work.  I'm willing to go it again, with a bit more enthusiasm than for the last one.  Thanks Brent and Paul and Bob for providing the well-painted minis.

Friday, April 22, 2016

"Hail Decius Mus"

We played "Hail Caesar," but since he wasn't alive yet we went with the Roman commander at the Battle of Asculum.  This post will also act as a review of sorts for the game system.

The premise for the game was that Alexander hadn't died and somehow was still around to take on the Roman Republic.  This allowed us to flesh out the painted Macedonians with Persian allies.  The Romans had some Numidians and perhaps other mercenaries.

Behold!  The Legions of Rome (and friends).

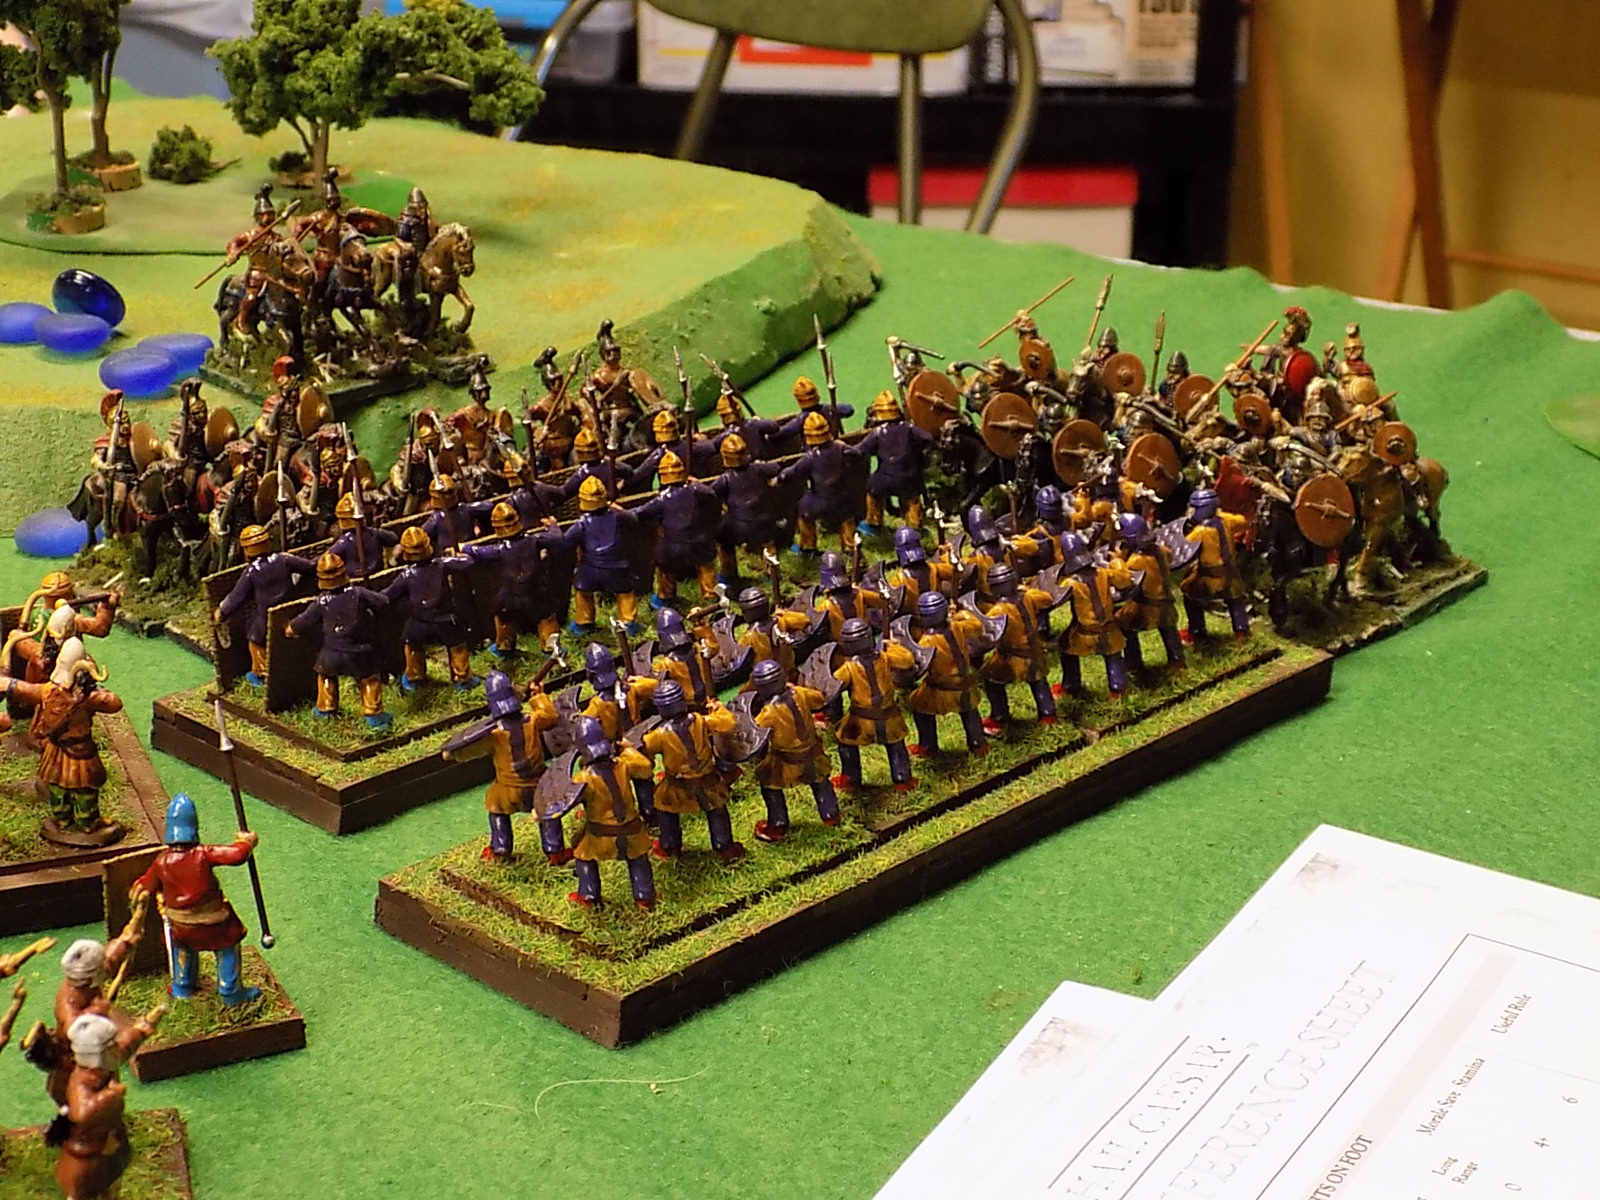
And the Macedonians with Persian allies.

And for me, something special.
As is fashionable in today's gaming world, this is a dice-activated game.  Unlike Black Powder you always get a base move and it is very easy to get multiple movement phases.  It is an IGO-UGO game which also has: I move, I shoot (you don't), we melee, you move, you shoot, we melee.  Units are assigned an impact dice value, a 2nd round of combat and beyond value, and stamina.  In an effort to eliminate all book-keeping a unit accrues hits until is passes its stamina level and then is picked up.  As part of the "dumbed down" approach (my opinion, you don't have to agree) a unit can be down to their last hit before being picked up, but still fight at full effectiveness. 

Macedonian left of Persian Immortals.

The phalanx barely moved while the Romans raced forward.

The Macedonian right, who feel they have the advantage.

Since it is IGO-UGO the rules allow you to turn and face charges, even from behind.  Unless of course you are pinned to the front by another unit.  Melee results tally the hits given vs. taken and the difference determines the result.  The loser tests and can carry on, fall back in good order, fall back disordered, fall back shaken, or even rout.  Seemed pretty reasonable way of doing things.

Rumble, rumble, moving slow and trying to protect our flanks.

Major cavalry and infantry scrum develops on the right.

Legionnaires and phalangites clash with a slight edge to the pikers.

Missile armed troops get a defensive volley when charged.  Usually not too many dice but if they roll a "6" then the charger has to pass a morale test.  Since I was 0-2 on tests I think its a silly rule.  Flippant attitude aside, it does seem strange that since they were usually rolling 2 or 3 dice that so many results occurred.  I always try to visualize what could have "really" happened to give the result and I'm having a hard time rationalizing this one.

One pike block went away, but Legionnaires are down and
elephants scattered in disorder.

After a hard fight the left is victorious.

Likewise the right is ready to sweep.
The Pente stones represent hits, which can be removed (mostly) with rally orders.  We had the luxury of doing so during the game and it really made a difference in the outcome.  Both sides were hitting their "stamina" levels and were being picked up, but more from the Roman side than the Macedonian.

Shortly after these pictures were taken the Romans conceded.  It would be interesting to see how it would have played out with another set of rules.  All figures hit got a saving throw which ranged from a 6+ for light infantry to a 4+ on d6 for the Legionnaires.  Why they got a better saving throw as armored close order infantry over the pikes (5+), armored close order infantry is beyond me. 

So pros: pretty easy to pick the basic rules; variable movement keeps you for perfectly coordinating your army; plays to a conclusion fast; and the army lists seem pretty detailed.

Cons: Fight like you are fresh even if eliminated on the next hit; missile troops are very powerful; units just teleport away when they exceed their stamina level; and very high risk to leaders if they fight which seems contrary to historic examples.

At first as we played I was thinking, "it's nice to be playing ancients again" and started flipping through the army list books to see what it would take to recreate one of my old armies.  By the end of the game I had dismissed the idea.  I'd play it again, but I'm not building an army for Hail Caesar.


Wednesday, April 13, 2016

Carnage in the South China Sea

"Admiral Ozawa, your force must protect at all costs the troop convoy.  You are to consider your force expendable."  Such dire orders were received on the bridge of the heavy cruiser Chokai which along with the Ashigaru, Kumano, Suyuza, Mogami and Mikima were part of the escort and support force covering a troop convoy in the early days of December, 1941.

Earlier, Admiral Tom Phillips had told the crews of HMS Prince of Wales and battlecruiser Repulse that "We are going looking for a bit of trouble."  The words would prove prophetic. 

The game was played in 2+ hours using Naval Thunder and 1/2400 models.  Ozawa chose a night engagement, despite the British reputation, so several special rules were in effect.  Both British capital ships sported a radar array, though it proved to matter little, even on the rainy and moonless night.

HMS Prince of Wales, Repulse and four destroyers steering course 300.

IJN Chokai leads Ashigaru, Mogami, Mikuma, Kumano, Suzuya,
and three Fubuki class destroyers steering 155.

A star shell illuminates the Chokai.

The British TF adjusts course to 255 and sets a screen.

Things quickly go bad for the Japanese flagship right away.  Here
sporting two fires and a flooding result.

Two British and all three Japanese destroyers are down or mission
kills.  Now the cruisers move in through the darkness.

It becomes a knife fight at point-blank range.  The golf tees
represent targeting to determine over-concentration modifiers.

Prince of Wales has taken two "Long Lance" torpedoes.  One
was defeated by the torpedo bulge, the other started a flood effect.

Surrounded, or lambs to the slaughter?

In the end we had the worst result possible for the Japanese.  All six cruisers and three destroyers were sunk or became mission kills.  Although the Prince of Wale's superstructure was a wreck, her engines and main guns were intact and the Repulse just needed some paint touched up.  Speed was particularly important since players were told any allied ships reduced to half speed or worse were automatically sunk the next day by Japanese air power.

Around two dozen torpedoes were launched by the Japanese with only two hits.  The allies did slightly better, putting a torpedo into the Kumano with far fewer launches.  This really hurt the Japanese chances.  More important, a mistake in communication led to the Japanese exclusively concentrating on the Prince of Walls, whereas they actually could have penetrated the Repulse's weak armor.

We didn't decide whether the British would risk going after the convoy or just retire, satisfied with the cruiser kills.  Of course what they could not know was that there were still nine Japanese destroyers available.  I kept the ship sheets so perhaps one day we'll see if they can improve upon the historic results vs. the bombers.