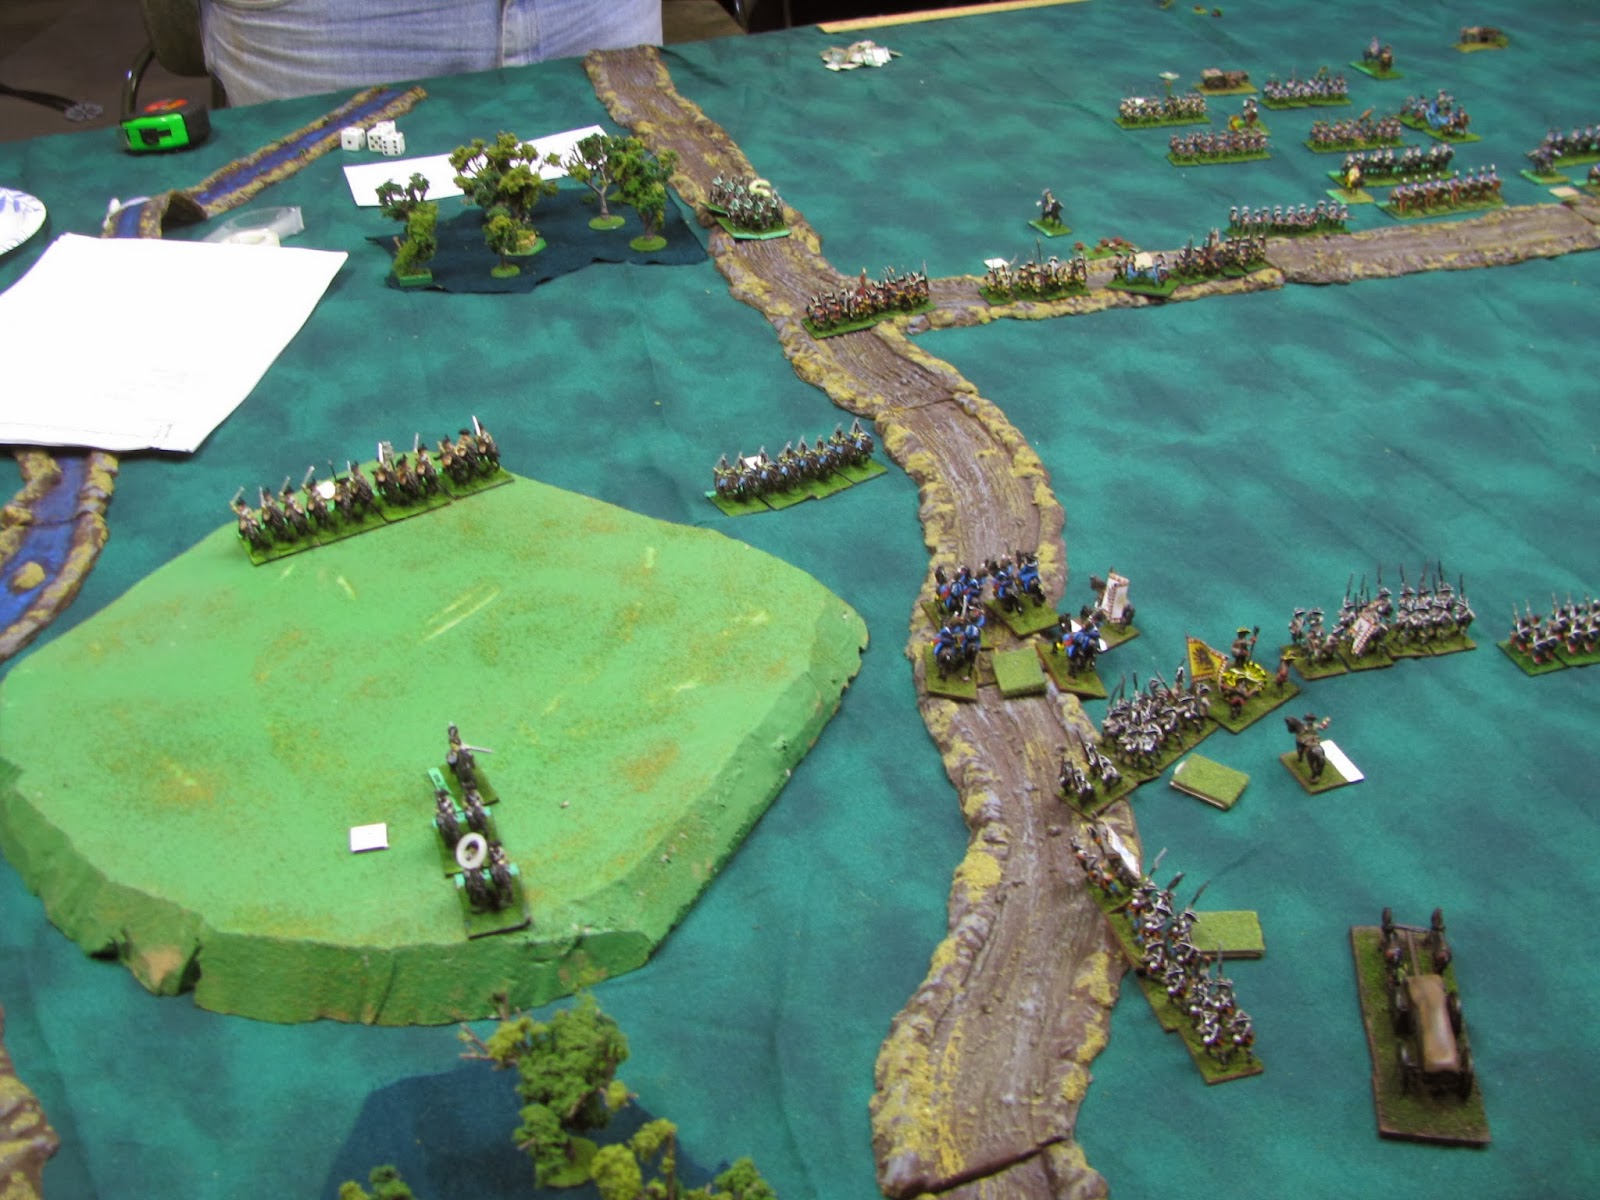
Our monthly excursion for March to Fire For Effect Games in Oshkosh, WI to demo Flames of War found us instead giving a new army its first blooding. A brand new German late-war force of 2715 points was looking fer a fight and I had just the hombres to take 'em down. So we moved the tables around to play on 12x4' and set three objectives on each side of our Encounter scenario. Mission Special rules were Delayed Reserves, Meeting Engagement and Scattered Reserves. With half of each force in reserve and not showing up before Turn 3, I chose my 25 pdr. battery of 8 guns, a section of Bofors to protect them, a platoon of armoured infantry, a platoon of Shermans with a Firefly, and a platoon of Achilles. I knew my erstwhile opponent had Tigers coming and I didn't want to get overwhelmed before I got any reserves. And of course my priority air support. Paul chose a panzer MkIVh platoon, a section of 10.5cm field guns, a 2 cm. AA section, and a platoon of panzergrenadiers in halftracks.
Initially things go pretty well for the British, despite not getting air support even rolling seven dice. The German panzergrenadiers were neutralized, as were the PAK 40s. Reserves would be showing up soon, do we make a run at an objective? With the destruction of the last anti-tank gun it seemed worth the risk and the Achilles raced across the table. Targeting the lone commander of the anti-tank gun platoon I laid a double-wide smoke screen to mask two-thirds of the table. All that had to happen if they rolled the arrival of reserves was to have them appear anywhere but the right corner. So of course he rolled reserves and rolled the one place they would matter. Achilles began to explode under the Tiger guns.
As the Tigers finished off the Achilles platoon, more delayed reserves continued coming on table for both sides. Additional MkIV and StuG platoons for the Germans and Shermans, Sextons lots of assorted Bren carriers types. With the scattered reserves rule in play it was just a matter of getting lucky where things showed up.
As had happened so often earlier in the war, the 25pdrs. found themselves firing over open sights at the approaching panzers. Fortunately it they were facing the panzers they could deal with, not the Tigers. A pair of 6 pound anti-tank guns helped contain this threat.
This game was turning into one of the biggest nail-biters we have played with Flames of War. At some point in the game each side thought they were totally winning, were totally lost, or prayed for a favorable roll of the dice.


Thanks to motivational tests the tide turned. The Panzer IVs and StuGs ran off after taking serious hits. The 25pdrs. had taken losses but had contributed to the repulse. Then, with no planning or coordination, on the left the recon section rushed one objective. On the right the Bren carriers with the HMG platoon swarmed another objective. The Tigers, the only functional German armor remaining, couldn't kill enough and the game ended. Four German platoons eliminated against two British plus the two objectives. A great game with great sports as the advantage pendulum swung to and fro.
 |
| British center, looking right |
 |
| British left, out-gunned |
 |
| Far right. Hello.....? |
 |
| A daring double move has a bad end |
 |
| Trading losses. |
 |
| Contemplating his next evil move |
Initially things go pretty well for the British, despite not getting air support even rolling seven dice. The German panzergrenadiers were neutralized, as were the PAK 40s. Reserves would be showing up soon, do we make a run at an objective? With the destruction of the last anti-tank gun it seemed worth the risk and the Achilles raced across the table. Targeting the lone commander of the anti-tank gun platoon I laid a double-wide smoke screen to mask two-thirds of the table. All that had to happen if they rolled the arrival of reserves was to have them appear anywhere but the right corner. So of course he rolled reserves and rolled the one place they would matter. Achilles began to explode under the Tiger guns.
 |
| "Looks like the coast is clear" |
 |
| A one sided duel over an objective |
 |
| One of the few successful air attacks |
 |
| Perfect German shooting; three shots, three kills |
As the Tigers finished off the Achilles platoon, more delayed reserves continued coming on table for both sides. Additional MkIV and StuG platoons for the Germans and Shermans, Sextons lots of assorted Bren carriers types. With the scattered reserves rule in play it was just a matter of getting lucky where things showed up.
 |
| Platoon of MkIVh on the (British) left |
 |
| There must be a loophole somewhere... |
 |
| Stalking the Audie Murphy objective |
As had happened so often earlier in the war, the 25pdrs. found themselves firing over open sights at the approaching panzers. Fortunately it they were facing the panzers they could deal with, not the Tigers. A pair of 6 pound anti-tank guns helped contain this threat.
 |
| StuGs rapidly trying to get to the most threatened point |
 |
| A scout section lurks, awaiting an opening |
 |
| Another attempt on the left flank |
This game was turning into one of the biggest nail-biters we have played with Flames of War. At some point in the game each side thought they were totally winning, were totally lost, or prayed for a favorable roll of the dice.
Thanks to motivational tests the tide turned. The Panzer IVs and StuGs ran off after taking serious hits. The 25pdrs. had taken losses but had contributed to the repulse. Then, with no planning or coordination, on the left the recon section rushed one objective. On the right the Bren carriers with the HMG platoon swarmed another objective. The Tigers, the only functional German armor remaining, couldn't kill enough and the game ended. Four German platoons eliminated against two British plus the two objectives. A great game with great sports as the advantage pendulum swung to and fro.