In preparation for a large-scale campaign we set up a training game at Adventure Games in Oshkosh, WI. The premise is that Pearl Harbor never happened and the Japanese attacked as expected. So there has not been Coral Sea or Midway either.
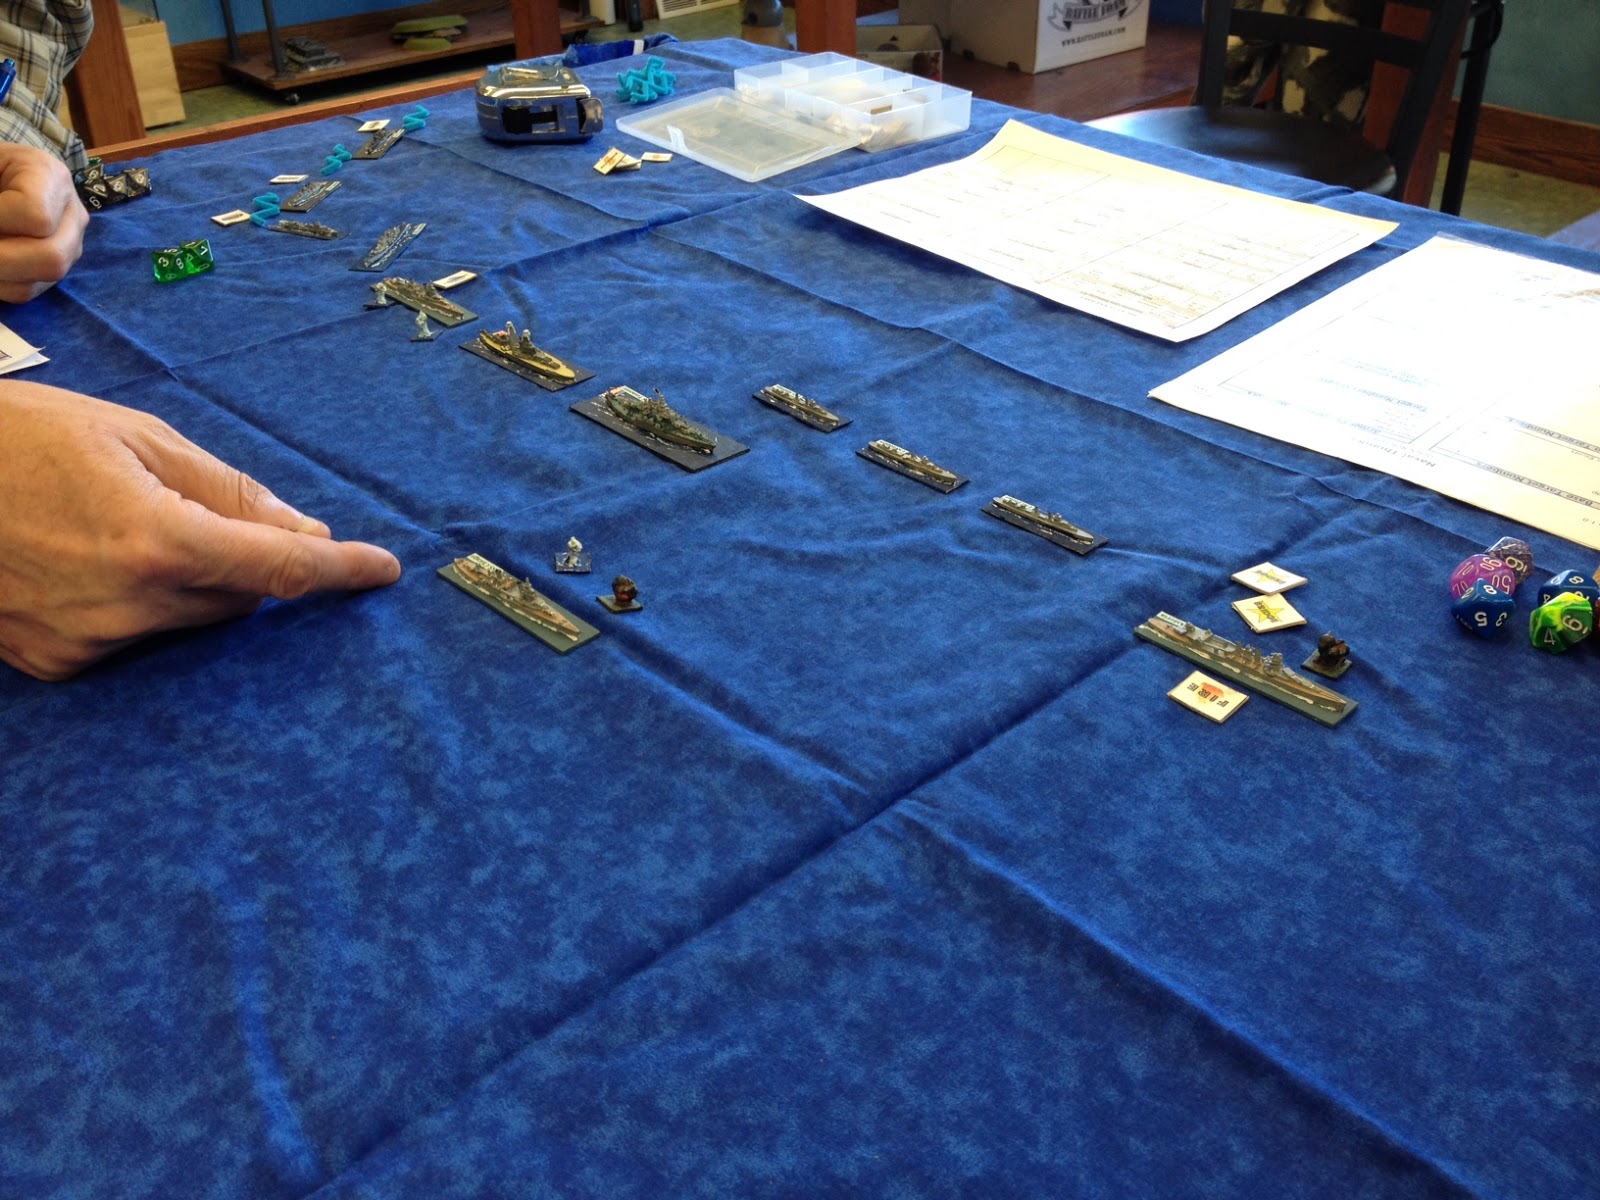
Each side had a pair of WWI vintage BBs, three heavy cruisers, a torpedo cruiser for the Japanese and an AA cruiser for the Americans. Each side had six destroyers as well. Rules are Naval Thunder, slightly modified,
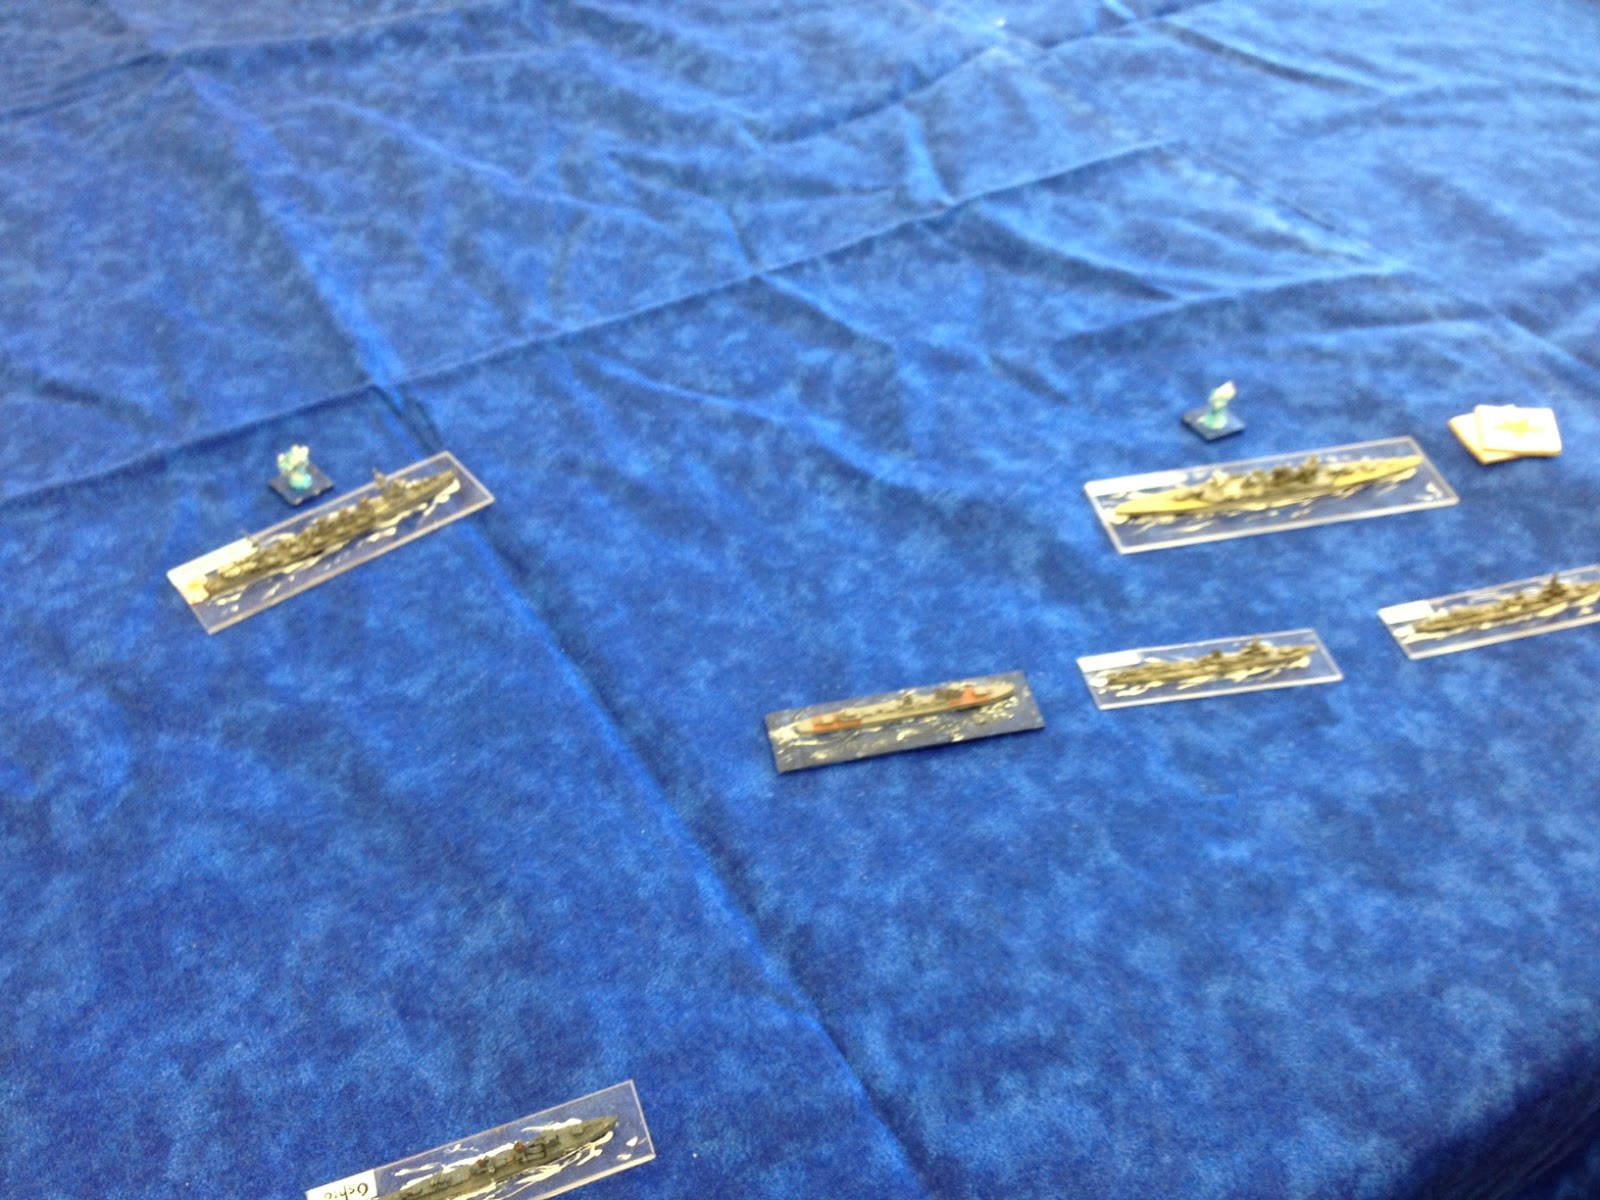
With just a 4x6' table all the main guns started in range. In the foreground the Fuso and Yamashiro split away from each other, in the company of a cruiser or two. Meanwhile the Arizona and Tennessee quickly maneuver to uncover their formidable broadsides.
We quickly learned that while the points for each side were almost exactly even, the Japanese 12" guns simply couldn't penetrate the American battleship armor. So they shifted to cruisers in the hopes of being able to swarm the enemy with Long Lances.
The Americans kept in formation throughout while the Japanese split up, perhaps in the hope of dividing the enemy fire. On the same turn the Astoria and Yamashiro took bridge hits which necessitated command checks. Both ships failed and fled the battle, while the Mikuma managed to pass her test.
Somewhere in here the USS Chicago had taken enough damage that they chose to withdraw her under cover of smoke from destroyers. This cost two destroyers but she made it away, still plugging away through the smoke with radar directed fire.
The battle raged on for some time and technically there were more American ships sunk than Japanese when we quit but the victory cleared belonged to the USN. Only a staggering 23 misses out of 24 battleship dice had saved the Fuso for another turn. The sole consolation (for me) was having the Kitikami put a pair of torpedoes into the Arizona. Unfortunately for our side neither beat her armor.
After this game we did a quick airstrike to test the campaign modifications. More tweaking will be in the works. Thanks Todd, Todd, Zach, Jay, Bob and ref Dan for getting together.
Each side had a pair of WWI vintage BBs, three heavy cruisers, a torpedo cruiser for the Japanese and an AA cruiser for the Americans. Each side had six destroyers as well. Rules are Naval Thunder, slightly modified,

With just a 4x6' table all the main guns started in range. In the foreground the Fuso and Yamashiro split away from each other, in the company of a cruiser or two. Meanwhile the Arizona and Tennessee quickly maneuver to uncover their formidable broadsides.
 |
| Mogami leads Yamashiro and Atago, the BB in trouble already. |
We quickly learned that while the points for each side were almost exactly even, the Japanese 12" guns simply couldn't penetrate the American battleship armor. So they shifted to cruisers in the hopes of being able to swarm the enemy with Long Lances.
 |
| Americans adopt a linear formation. USS Astoria is suffering. |
The Americans kept in formation throughout while the Japanese split up, perhaps in the hope of dividing the enemy fire. On the same turn the Astoria and Yamashiro took bridge hits which necessitated command checks. Both ships failed and fled the battle, while the Mikuma managed to pass her test.
 |
| Kitikami seeks torpedo range while the damaged Mikuma plunges straight ahead. |
Somewhere in here the USS Chicago had taken enough damage that they chose to withdraw her under cover of smoke from destroyers. This cost two destroyers but she made it away, still plugging away through the smoke with radar directed fire.
 |
| Mogami is a strong breeze away from sinking and Fuso is heavily hit. |
The battle raged on for some time and technically there were more American ships sunk than Japanese when we quit but the victory cleared belonged to the USN. Only a staggering 23 misses out of 24 battleship dice had saved the Fuso for another turn. The sole consolation (for me) was having the Kitikami put a pair of torpedoes into the Arizona. Unfortunately for our side neither beat her armor.
After this game we did a quick airstrike to test the campaign modifications. More tweaking will be in the works. Thanks Todd, Todd, Zach, Jay, Bob and ref Dan for getting together.